4.3 Export: How to use Templates

Table of contents
Understanding Your Export Templates
Export templates are a framework that enable you to manipulate your product data into various, useable formats. These exports can then be shared with customers, colleagues, suppliers and other business contacts.
Template types
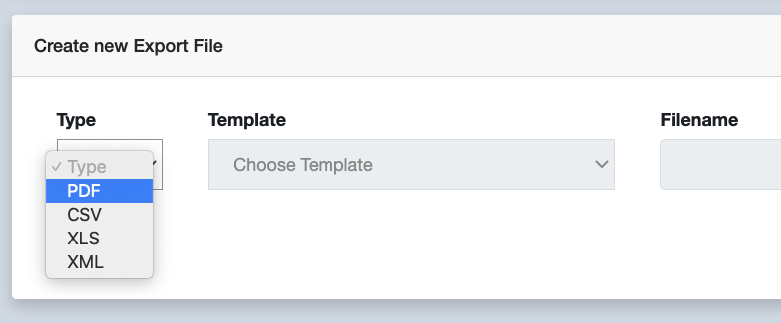
There are four export types: CSV, XLS, XML and PDF. Within each export type, you can create your unique export templates – as seen in the dropdown box.
Creating your templates
We recommend you create a number of base templates to use as a starter for each export. Typically you will configure a template each time you use it, as your requirements change. You can create as many templates as you like. you will eventually build a library of templates which can be used to distribute your product data across your business. Here is how you create a template
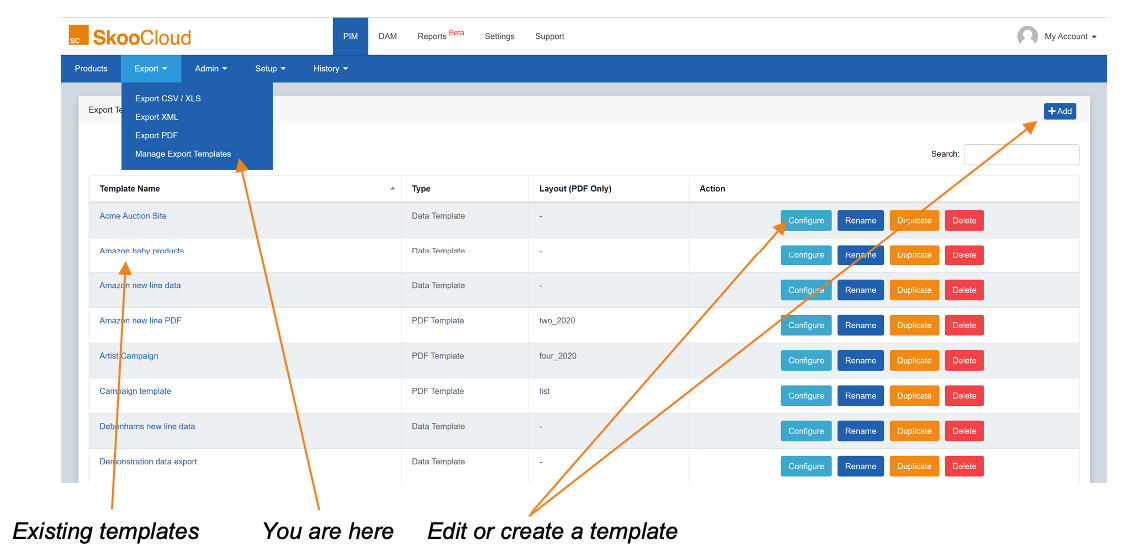
To create your own template, select the add button in the right hand corner and give your template a name, choosing your basic template type between CSV or PDF.
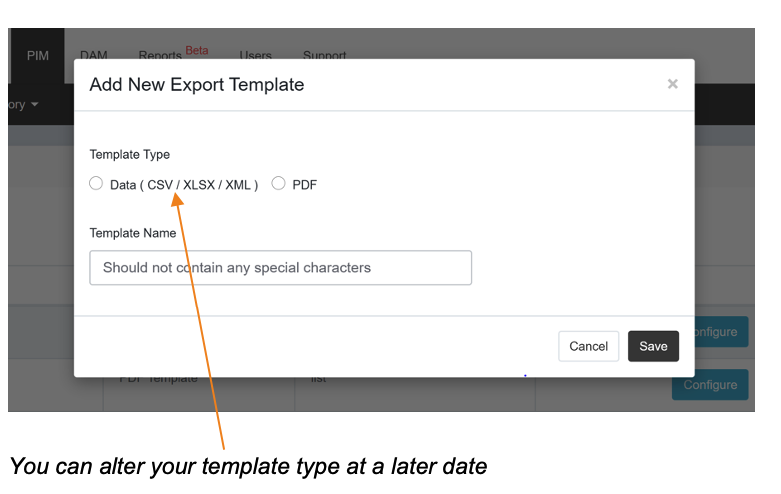
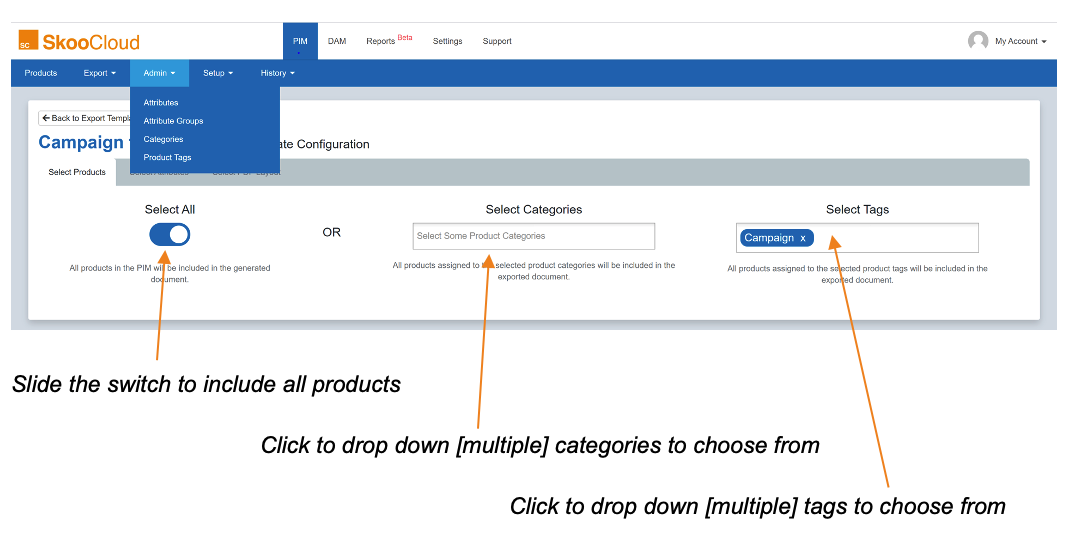
Once you’ve given your template a name, it’s time to decide which data you include in your template. This is dictated by the product categories, tags and attributes you choose.
For ease, you could select to include all your products, however that’s probably overkill for most templates, so use the categories and tags to decide what goes into your export.
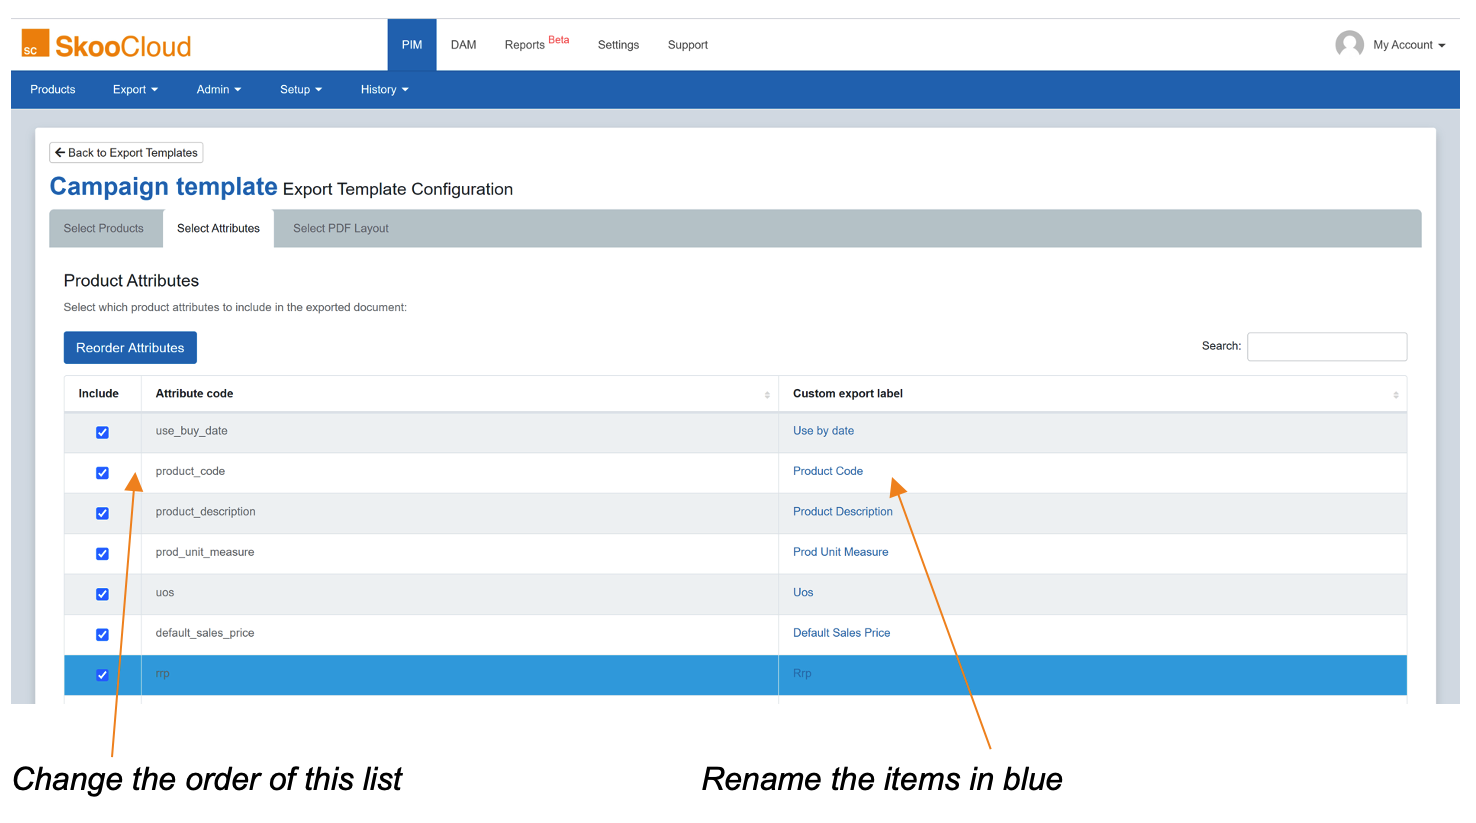
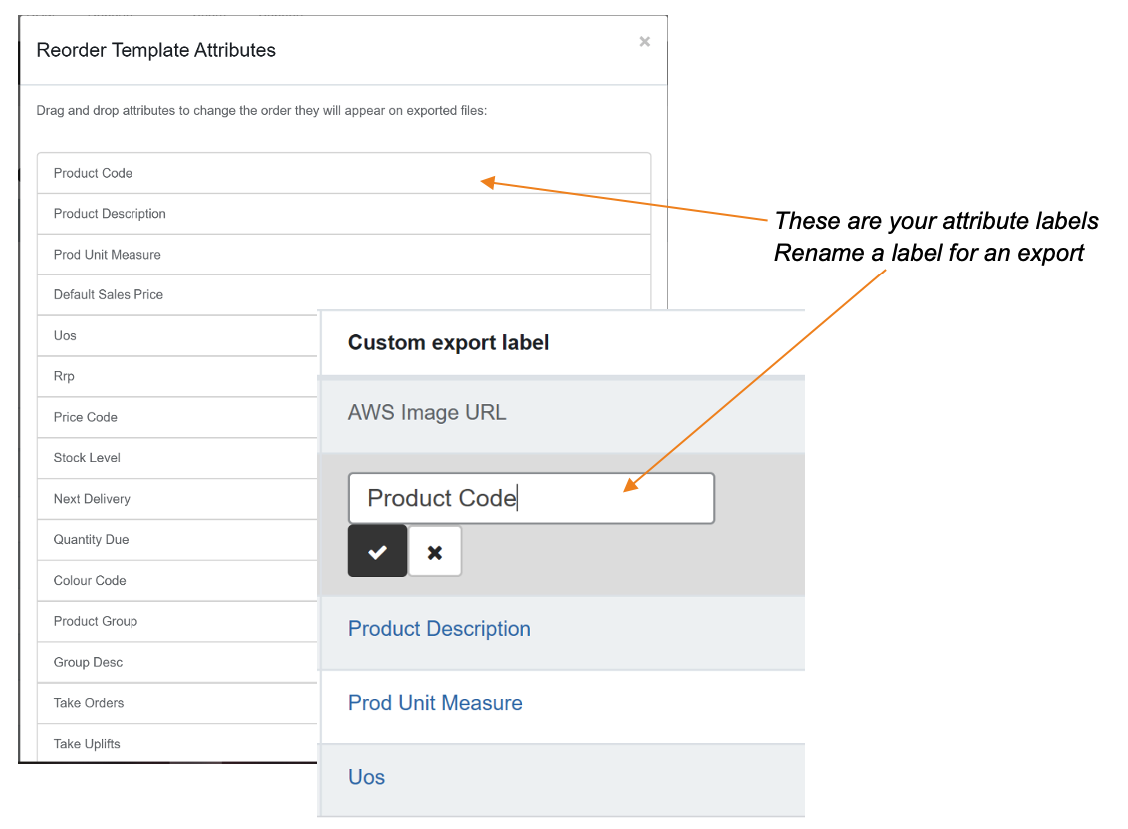
Next you will need to select the attributes required to make up the export. You can also change the order in which these attributes appear in the list to help make the building of your export quicker.
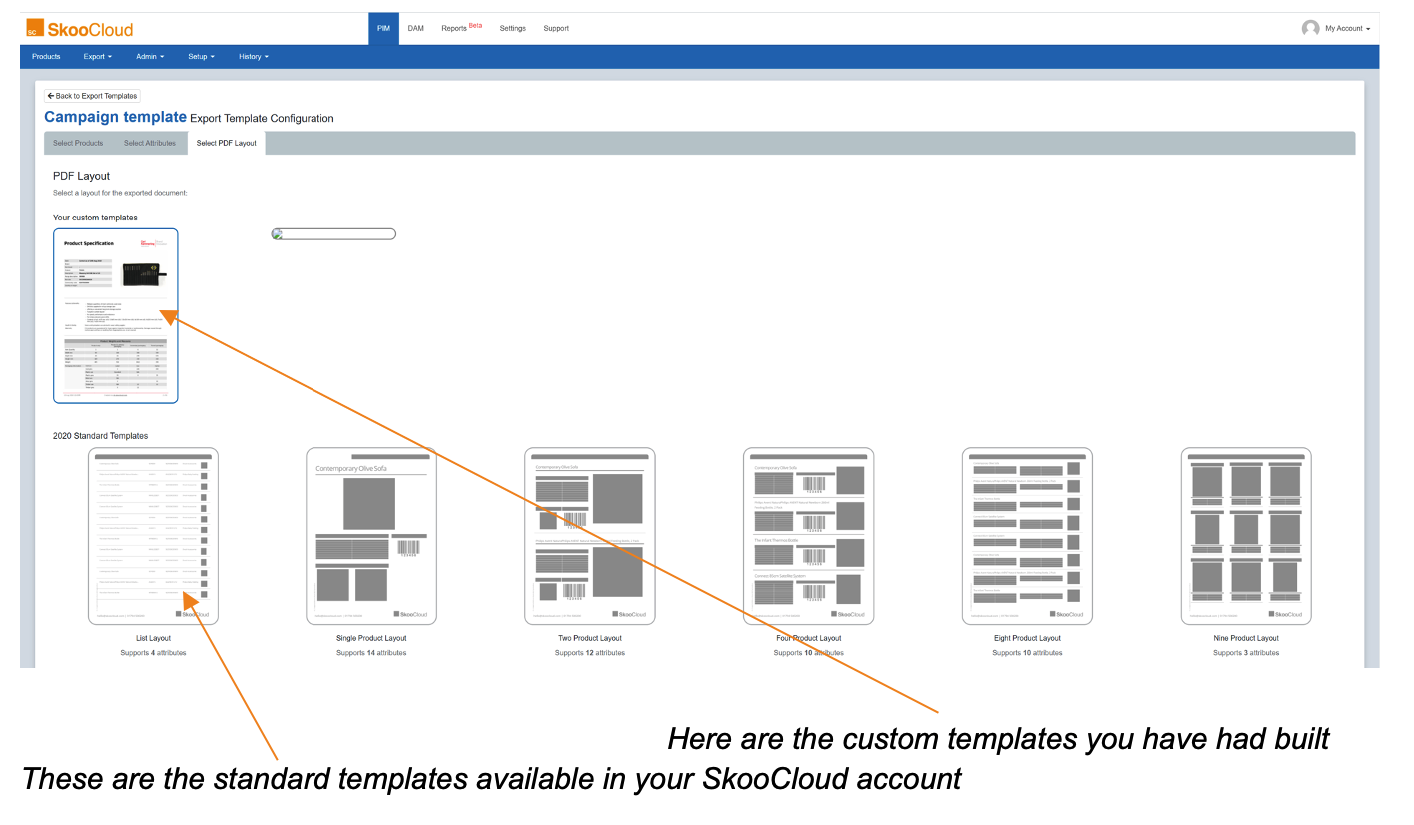
If you are building a PDF export (as opposed to CSV) you will need to select the layout for your PDF. Select from standard layouts or any custom templates you’ve had built for you. If you’re building a CSV export, you can skip this step.
How do I use a template?
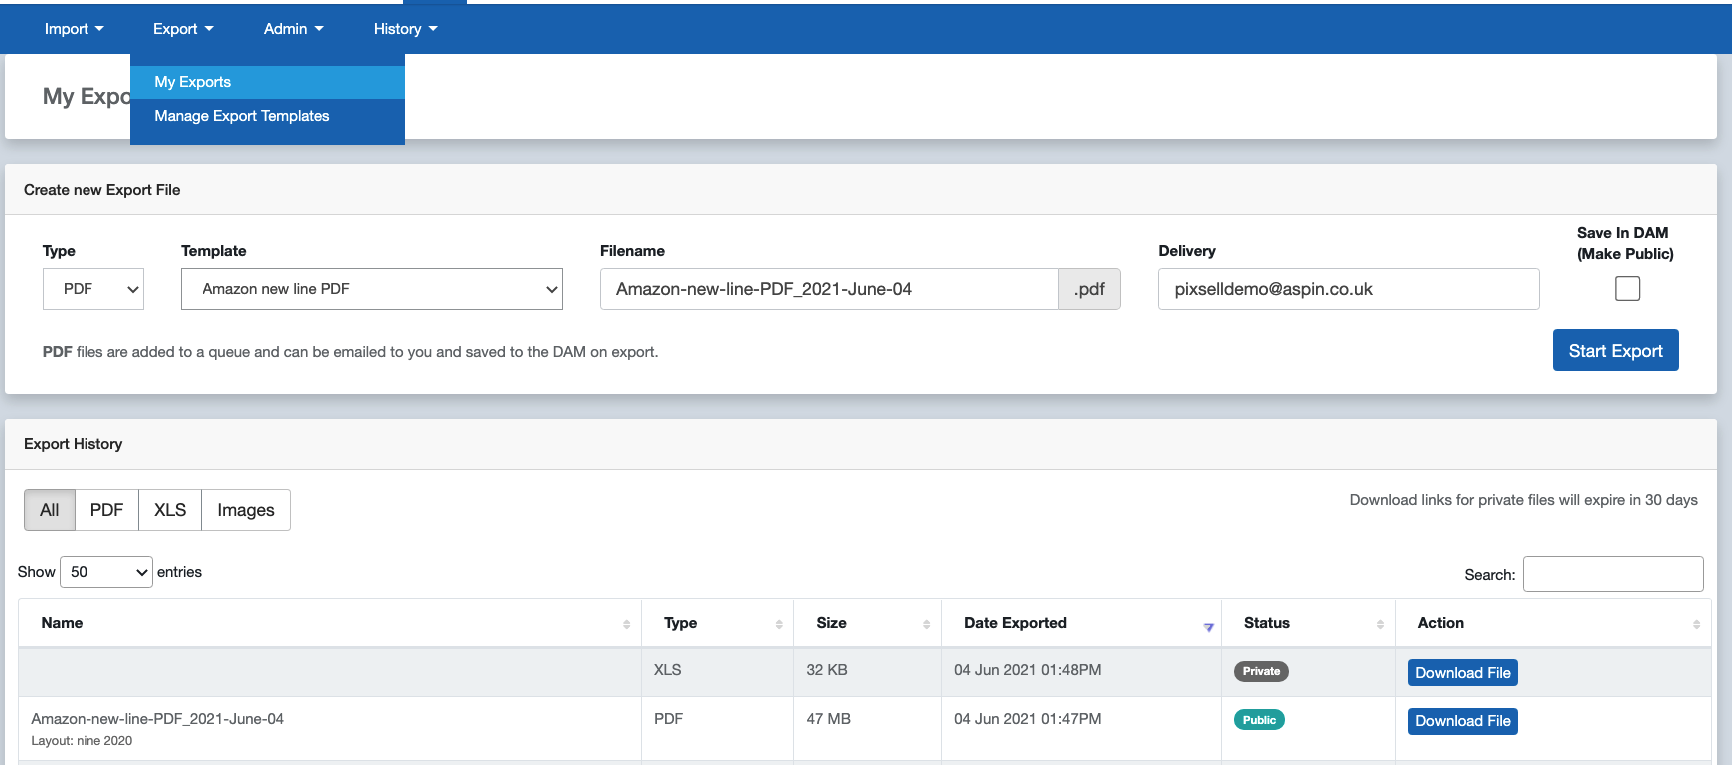
There are two ways to use your templates. The first method is to go to the My Exports page, select the export type (PDF / XLS / CSV / XML) and the desired template that you created from the previous step. Then click “Start Export”.
This method will export products that fit into the specific criteria that you defined in the step above.
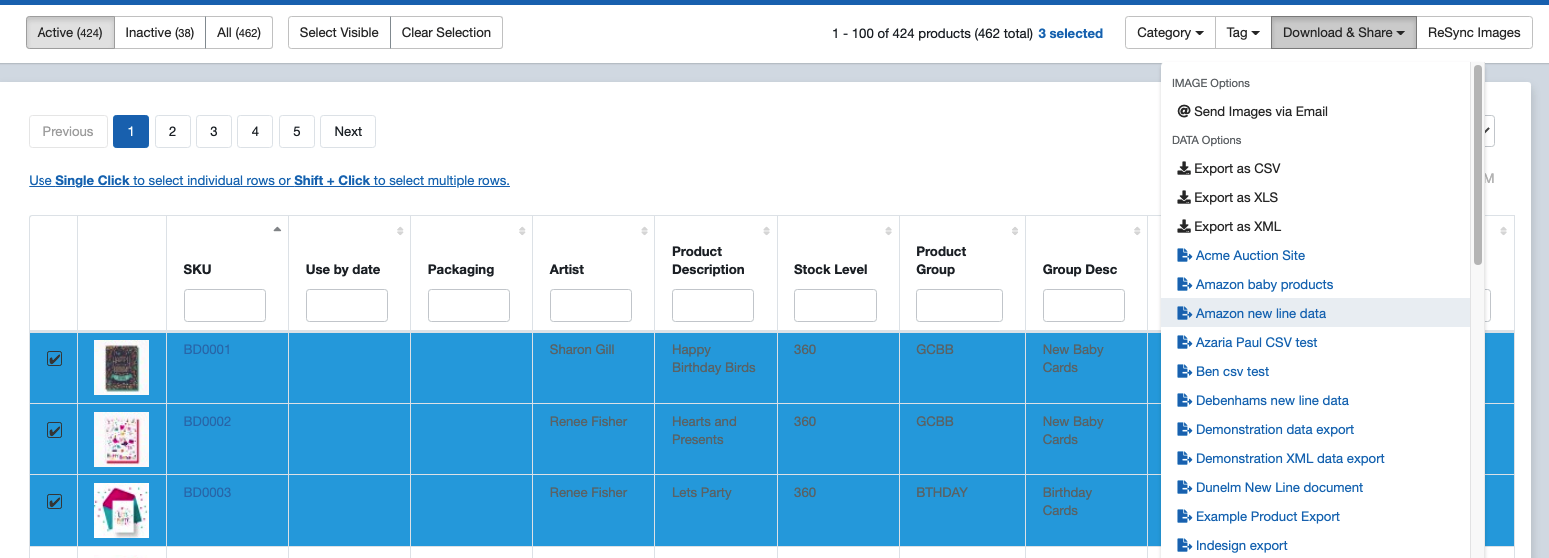
The other way is to export your template directly from the PIM DataTable for a specific selection of products. To do this, click on the products you want to export. Next click on ‘Download & Share’ and then select the highlighted template from the list.
Creating product catalogues with InDesign
Product catalogues are likely a huge part of your business and something you can manage within SkooCloud to take advantage of always being able to generate up-to-date listings. Furthermore, SkooCloud will support product catalogues created in Adobe InDesign by providing an XML export to assist you in getting the data into your catalogue. When you have 100s or 1000s of products, and associated product attributes and images that change and become out of date, it can be a time consuming process keeping on top of things – here’s how to manage this scenario.
Exporting your XML file for InDesign
Once you have prepared your export as per the steps in section 4.3, to include your product image, code and any other attributes you wish to display in your catalogue, it’s time to export the XML file. We always advise both saving the export into your SkooCloud account and asking SkooCloud to email you a copy, SkooCloud will prompt you to do this.
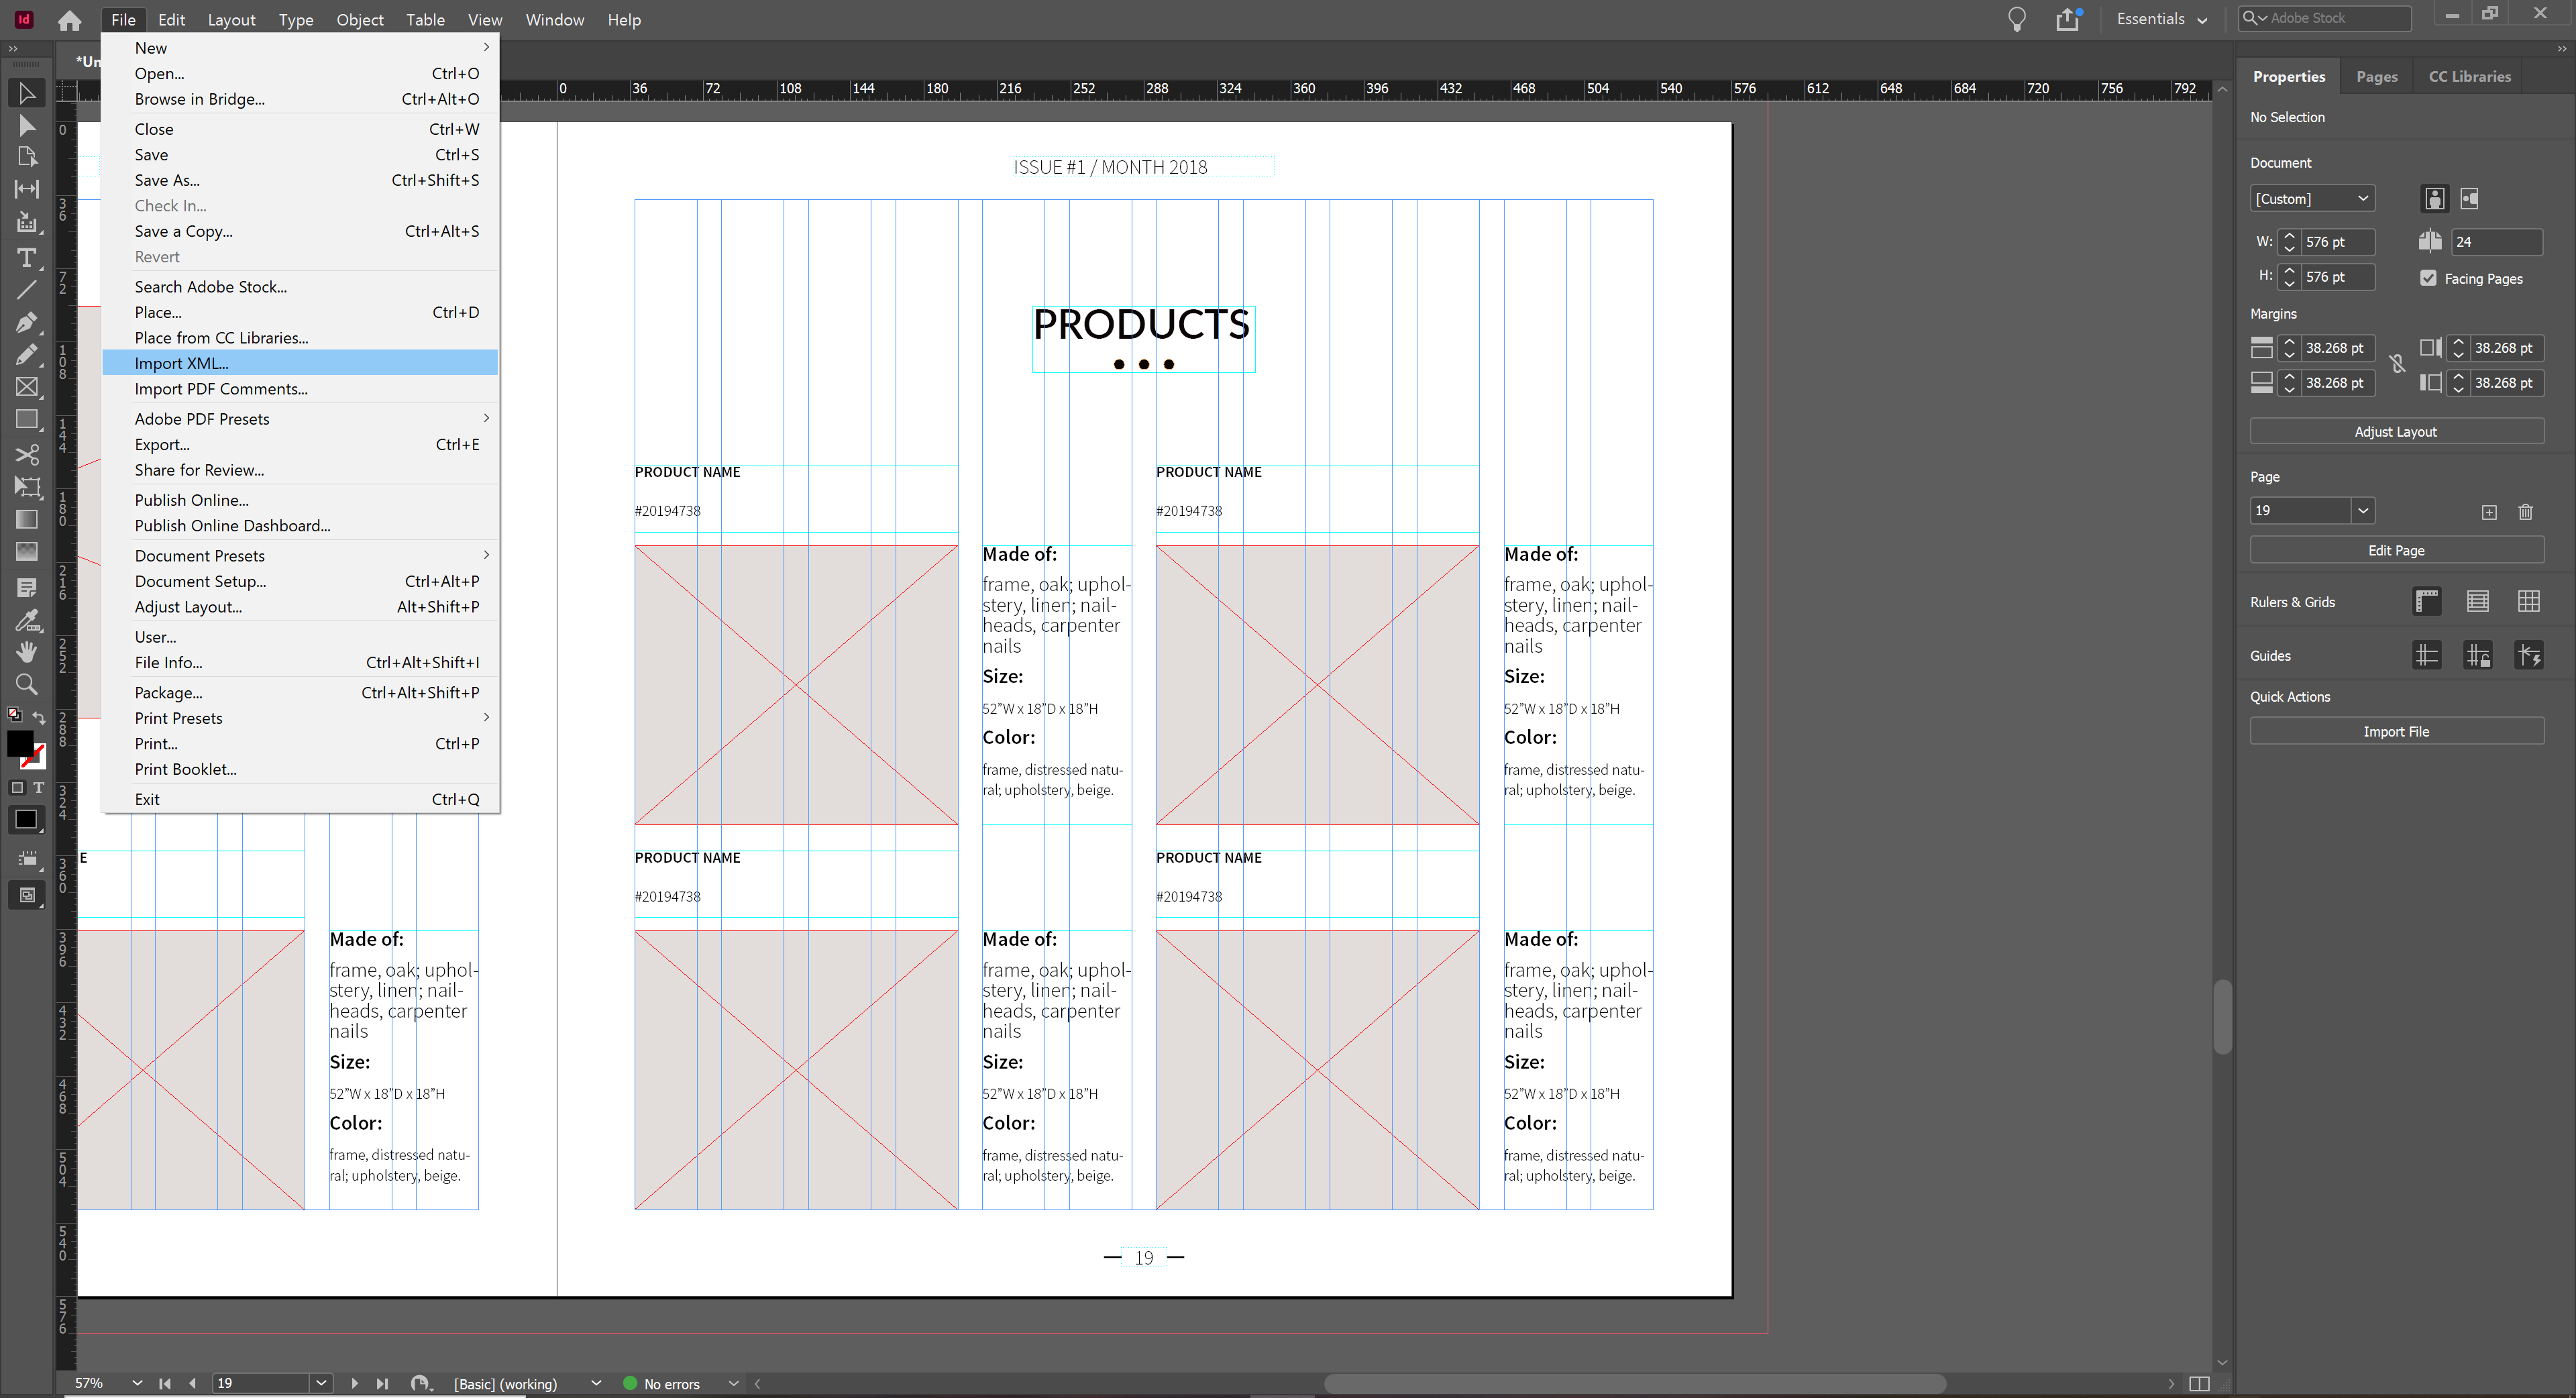
Now it’s time to import your XML file into your InDesign account, ready to populate your catalogue lay out. This ‘How-to’ guide does not offer any specific training for InDesign, but we have included a screenshot just for reference.
You can also use InDesign’s Data Merge via CSV feature, which allows you to automatically replicate a layout and populate it with data from an Excel spreadsheet. This is quicker, but offers less flexibility than XML.
